
Email format error
Email cannot be empty
Email already exists
6-20 characters(letters plus numbers only)
The password is inconsistent
Email format error
Email cannot be empty
Email does not exist
6-20 characters(letters plus numbers only)
The password is inconsistent


The Ultimate Guide to CV Joint Replacement for Your Toyota Camry
Your Toyota Camry is a reliable and sturdy vehicle, known for its smooth ride and longevity. However, like any car, it requires regular maintenance to keep it running at its best. One of the crucial components of your Camry's drivetrain is the CV (constant velocity) joint. In this blog post, we'll dive deep into the process of CV joint replacement for a Toyota Camry, discussing why it's necessary, how to identify issues, and what the replacement process involves. By the end of this guide, you'll have a clear understanding of how to keep your Camry's drivetrain in top shape.
What is a CV Joint?
A CV joint is a flexible coupling found in front-wheel drive and many rear-wheel and all-wheel drive vehicles. It connects the driveshaft to the wheels, allowing for smooth power transfer even as the wheel moves up and down and turns side to side. This flexibility is crucial for maintaining your car’s ability to handle different driving conditions smoothly.
Why CV Joint Replacement is Necessary
Over time, the CV joint in your Toyota Camry can wear out. The most common cause of CV joint failure is the degradation of the rubber boot that protects it. Once the boot cracks or tears, dirt and moisture can enter, leading to the deterioration of the joint. If not addressed, a failing CV joint can cause serious damage to your car's drivetrain, leading to more expensive repairs down the line.
Signs Your CV Joint Needs Replacement
Knowing when to replace your CV joint can save you from extensive damage and costly repairs. Here are some signs that your CV joint may be failing:
1. Clicking or Popping Noises: If you hear a clicking or popping sound when turning, it's a clear indicator that your CV joint is worn out.
2. Grease on the Inside Edge of the Tires: A damaged CV boot can leak grease, which often splatters onto the inside edge of the tires.
3. Vibrations While Driving: If you experience vibrations that increase with speed, it could be due to a failing CV joint.
4. Bouncy or Rough Ride: A worn-out CV joint can affect the smoothness of your ride, making it feel rough or bouncy.
The CV Joint Replacement Process
Replacing the CV joint in a Toyota Camry can be a complex process, but with the right tools and a bit of patience, it's achievable. Here's a step-by-step guide:
Tools and Materials Needed:
- Jack and jack stands
- Lug wrench
- Socket set and wrenches
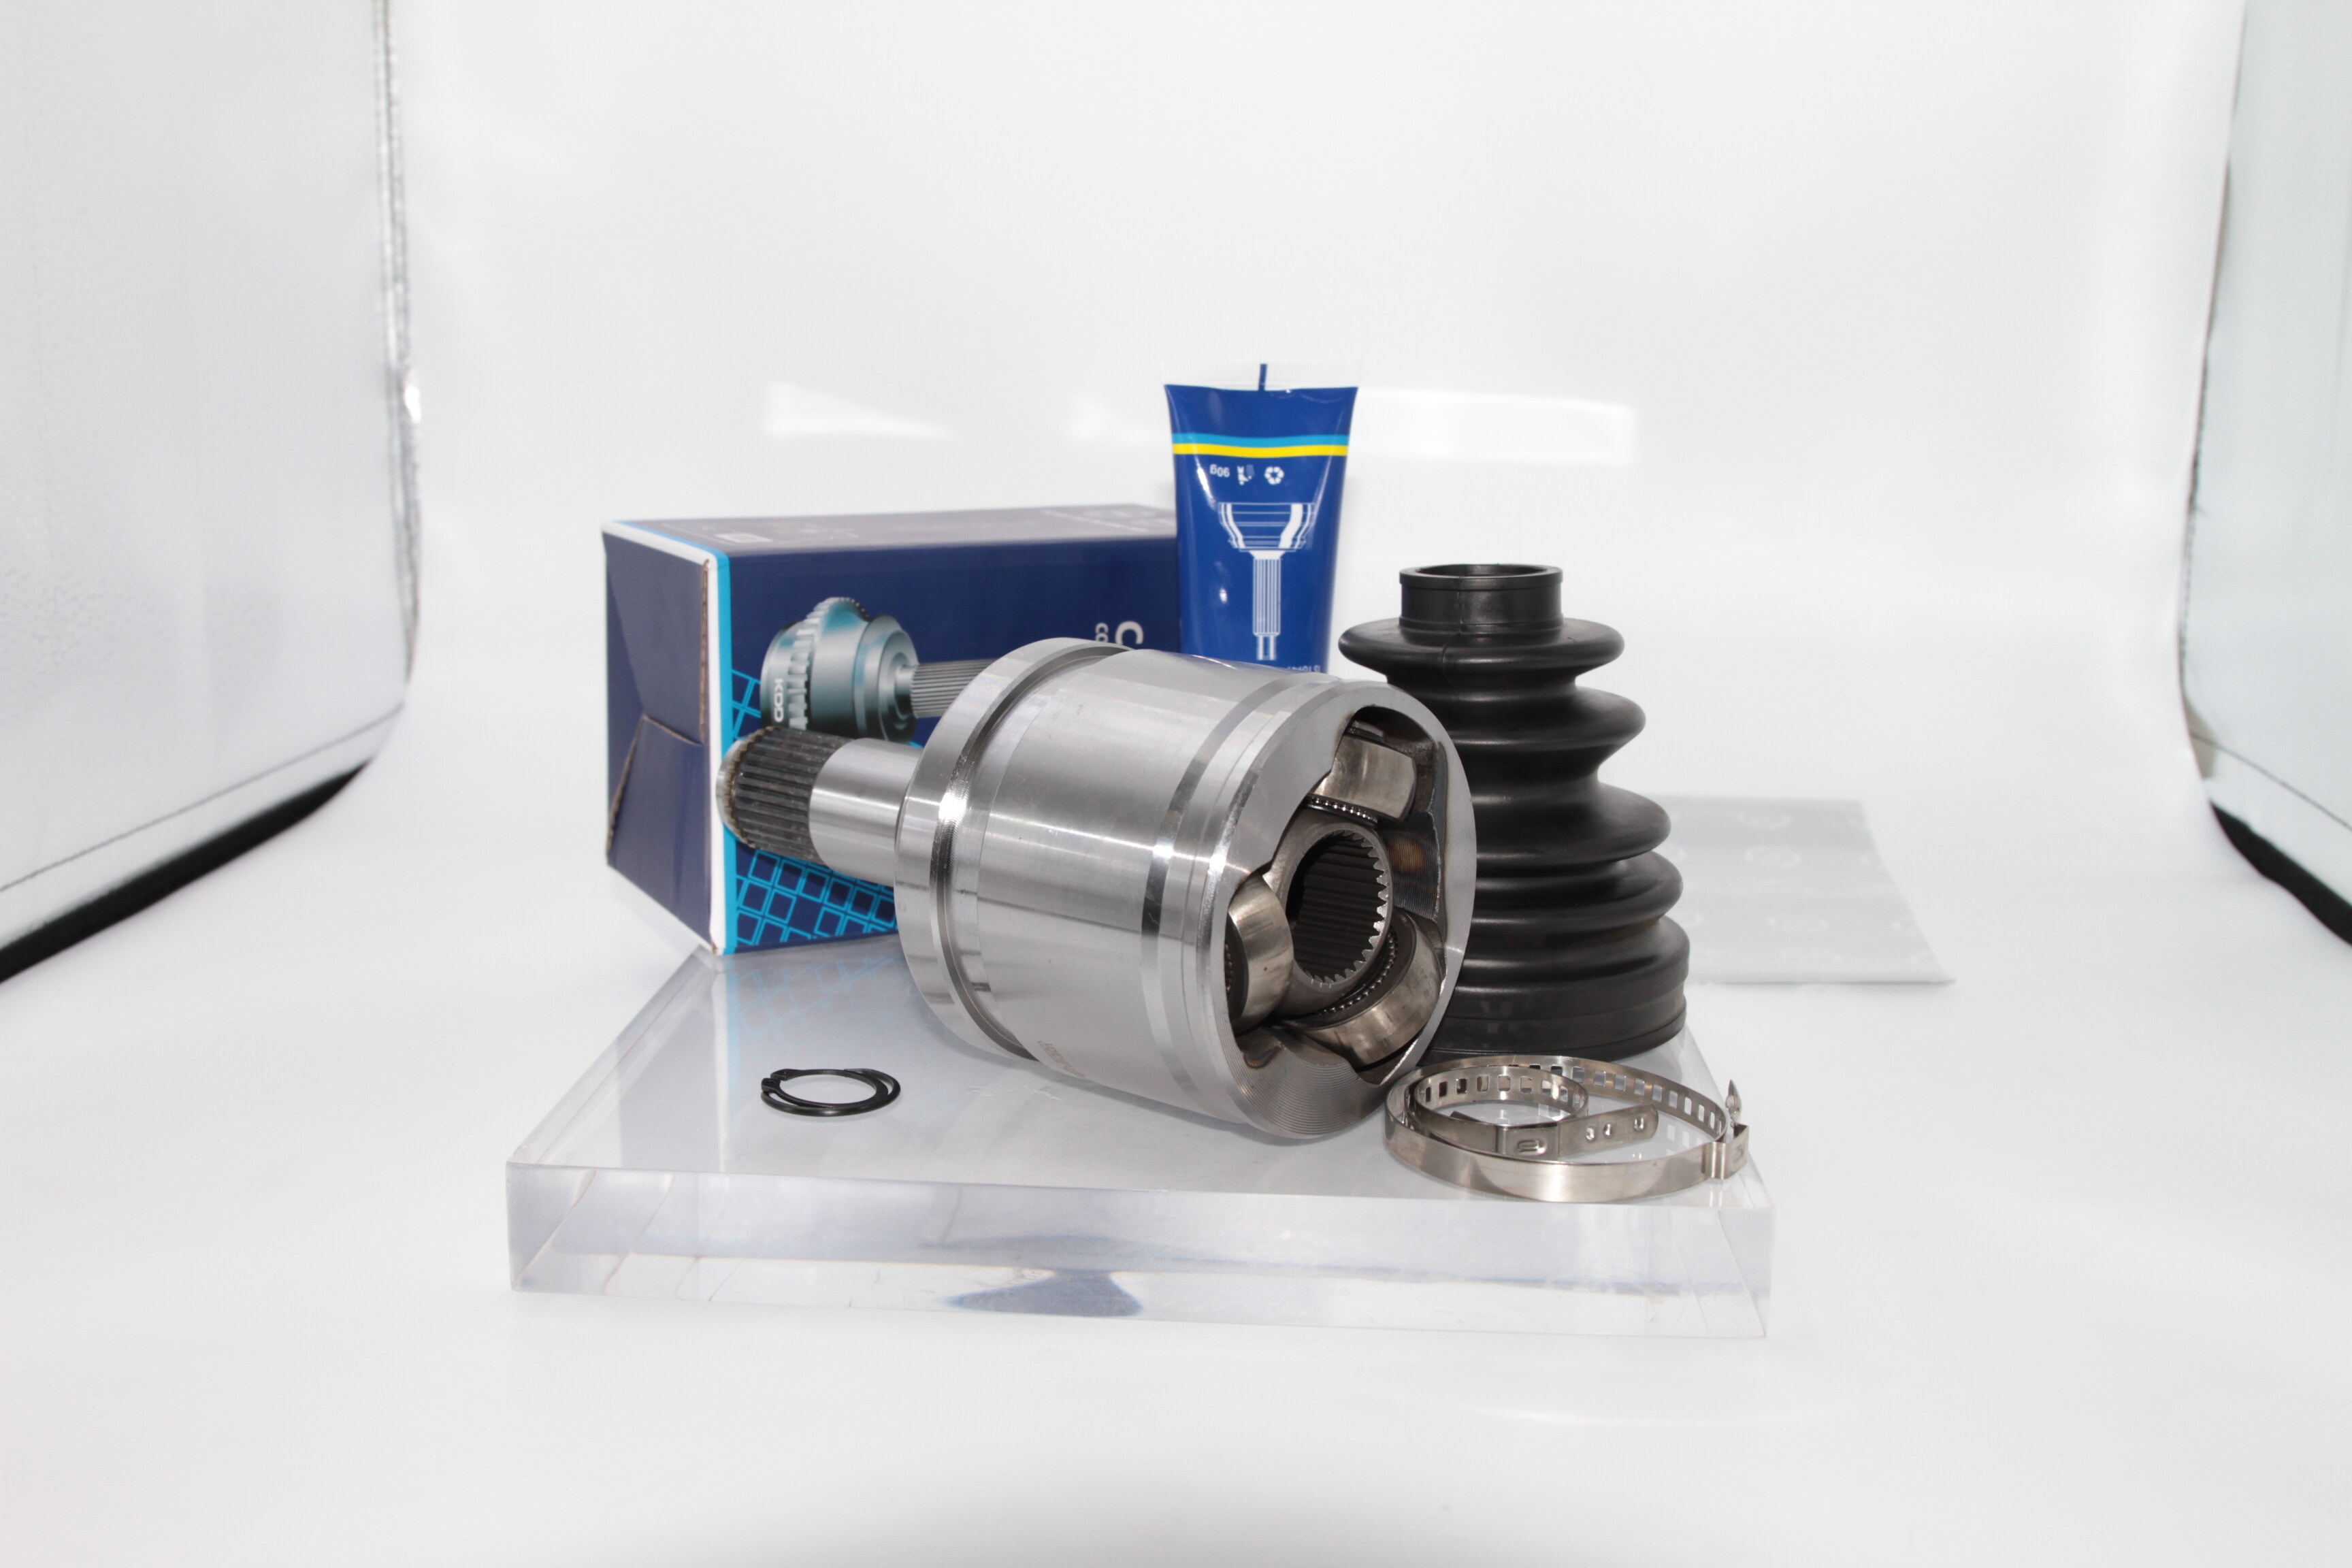
- CV joint replacement kit
- Pliers
- Grease
- Torque wrench
Step-by-Step Guide:
1. Safety First: Ensure the car is on a flat surface. Use the jack to lift the car and secure it with jack stands.
2. Remove the Wheel: Use the lug wrench to remove the wheel. This will give you access to the CV joint and axle.
3. Remove the Axle Nut: Locate the axle nut in the center of the wheel hub and remove it using a socket set.
4. Disconnect the Steering Knuckle: Carefully disconnect the steering knuckle from the suspension. This may involve removing bolts and other components to free the CV joint.
5. Remove the Old CV Joint: With the steering knuckle detached, you can now slide the old CV joint out of the wheel hub and transmission.
6. Install the New CV Joint: Carefully insert the new CV joint into the transmission and wheel hub. Ensure it is securely in place.
7. Reassemble the Components: Reconnect the steering knuckle and any other components you removed earlier.
8. Torque the Axle Nut: Use a torque wrench to tighten the axle nut to the manufacturer's specifications.
9. Reinstall the Wheel: Put the wheel back on and tighten the lug nuts.
10. Lower the Car: Carefully lower the car back to the ground and remove the jack stands.
11. Test Drive: Take your Camry for a test drive to ensure everything is functioning correctly.
Maintaining Your New CV Joint
Once you've replaced the CV joint in your Toyota Camry, it's essential to maintain it to ensure its longevity. Here are a few tips:
Regular Inspections: Periodically check the CV boots for signs of wear or damage. Catching issues early can prevent further damage.
Cleanliness: Keep the area around the CV joint clean to prevent dirt and debris from entering the boot.
Proper Lubrication: Ensure the joint is well-lubricated with high-quality grease to reduce friction and wear.
Conclusion
Replacing the CV joint in your Toyota Camry might seem daunting, but with the right knowledge and tools, it can be a manageable task. By understanding the signs of a failing CV joint and following a systematic approach to replacement, you can keep your Camry running smoothly for years to come. Remember, regular maintenance is key to the longevity and performance of your vehicle. If you're ever in doubt, don't hesitate to consult with a professional mechanic to ensure the job is done right.
By following this guide, you'll ensure that your CV joint replacement Toyota Camry is a success, keeping your ride smooth and reliable.